Tuesday, November 20, 2012


Saturday, September 22, 2012
How to get rid of the installer / configuration dialog when running Office 2007 and Office 2003 on the same system - for Vista and other versions of Windows
I have been asked this many times following up on the blog entry Installing Office 2003 and Office 2007 on the same system where once peoplehave removed the problem with the End User Licensing Agreement (EULA) appearing every time they start Office they then get the dialogs below every time they switch between Word 2007 and Word 2003.
when starting Word 2003
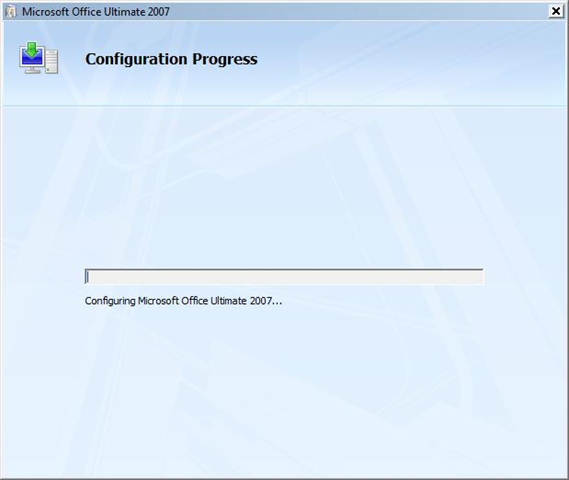
when starting Word 2007

The fix to the problem is very simple as it turns out - simply run the following commands (by pressing the Windows Key+R or typing it into the Start/Run command box. Use the line with Office\11.0 if you have Office 2003 installed and Office\12.0 if you have Office 2007 installed. You can use both if you have both installed :
reg add HKCU\Software\Microsoft\Office\11.0\Word\Options /v NoReReg /t REG_DWORD /d 1That is it. Office 2007 might want to have one more spin round the block with it's configuration dialog box, but that should be it.
reg add HKCU\Software\Microsoft\Office\12.0\Word\Options /v NoReReg /t REG_DWORD /d 1
ttfn
David
Wednesday, April 20, 2011
How to Reset a Windows Password
How to Reset a Windows Password
This is a fairly simple way to reset / change your Windows user account password if, for whatever reason you can't gain access to your account.
A big thank you to Everlong for helping me sort the last steps of this.
This tutorial can be used to reset the password in Windows 7 or Vista.
If you don't have a proper Windows installation disk, have a look at the link below to create a repair disk that can be used to reset your user account password in Windows 7 and Vista.
System Repair Disc - Create
System Repair Disc - Create
Making changes to the Windows Registry has the potential to disable the PC, if you have any concerns over using the information set forth here please feel free to post a question in this same tutorial and we will be glad to help.
Be Advised: if you use this method to reset you're user account password ANY / All access to encrypted filesstored in the account will be lost.
Be Advised: if you use this method to reset you're user account password ANY / All access to encrypted filesstored in the account will be lost.
Let's get Started!
1) The Boot Priority in the BIOS needs to be set to boot first from the optical drive; insert your Windows disk and re-start the PC.
At the first screen select your language then Repair your computer then it'll do some searching, at System Recovery Options dot Use recovery tools then select the OS and click next; while there make note of the OS drive letter, it may not be C: like mine is D:.2) At the next screen select "Command Prompt" then in the Command window type "regedit" (without the quotes) and hit enter.3) In the Registry Editor window that opens click to select "HKey_Local_Machine" then at the "File" menu select "Load Hive".4) In the "Look In" in the "Load Hive" window that opens navigate to (in my case) LocalDiskD:\Windows\System32\config\SYSTEM and click "Open".5) In the "Load Hive", "Key Name" box give the new key a name e.g. " 123 " (it can be whatever you like) and click OK.6) In the left pane of the registry Editor window click the " + " sign to expand the "HKey_Local_Machine" key then click the " + " sign to expand the "123" key then click to select the "Setup" key.7) Now in the right pane right click "SetupType" and select "Modify", set the "Value data" to " 2 " and click OK.8) Again in the right pane right click "CmdLine" and select "Modify" and set the "Value data" to "cmd.exe" and click OK.9) Now just as a precaution, close the Registry Editor at the "File" menu click "Exit"; then in the Command window that's still open type "regedit" and hit enter to open the Registry Editor again.
10) In the Registry Editor click the " + " sign to expand HKey_Local_Machine and click to select the new "123" key, at the "File" menu select "Unload Hive" and click "Yes" for the "Are you sure ..." question.11) Now close the Registry Editor at the "File" menu click "Exit" then in the Command window type "exit" and hit enter to close the Command window, then remove the Windows disk and restart the PC.12) When the PC restarts a Command window will open, in that window type "net user
" mine is (net user "Bare Foot Kid" Test6) be advised: if you have a username like mine, with spaces, you must use " " quotes around the user name; when you get the "Command Completed Successfully" type "exit" in the Command window and hit enter; at the logon screen use the new password you chose.


Restore Default Windows 7 File Extension Type Associations
Default File Type Associations - Restore | ||
| ||
 Default File Type Associations - Restore
Restore Default Windows 7 File Extension Type Associations
Default File Type Associations - Restore | ||
| ||
Subscribe to:
Posts (Atom)